Stargent provides connectivity for your Rachio controller through your chosen network. We offer Verizon, AT&T, T-Mobile, or a combination of all three via our Triple Carrier Premier Service. The Triple Carrier Premier Service network always chooses the most robust network in your area. Gone are the days of trying to figure out which carrier will work best- get the best of all of them!
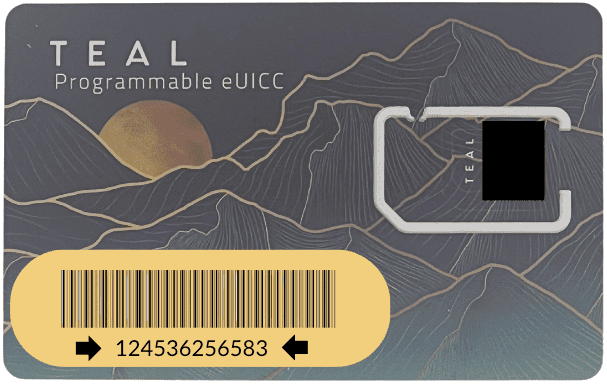
Stargent offers monthly plans or annual plans. Please review the options below and subscribe before continuing to the next steps. Once you select a network, the next page will ask you for a SIM Card Number. Please fill in the number on your SIM Card (pictured below) to ensure correct billing.

*You must choose a network from the subscriptions below to activate your SIM/Cellular Network before completing any other steps*
The connectivity will not work without completing this step.
*You must choose a network from the subscriptions below to activate your SIM/Cellular Network before completing any other steps*
The connectivity will not work without completing this step.
Please follow the steps below to set up your Rachio controller and connect to your new network.
| 1. Plug the router into a power outlet using the power cord provided. 2. Scan the QR code on the router with your phone. 3. Click the JoinNetwork link. Please be patient, as it can take up to 20 minutes for the SIM and router to sync. |
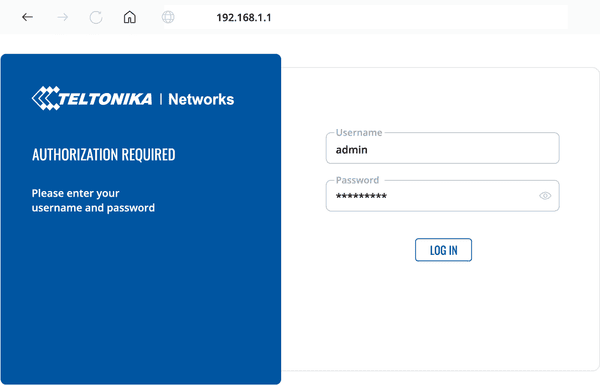
| 4. Enter the router's Web interface (WebUI), type http://192.168.1.1 into the URL field of your Internet browser. 5. When prompted for authentication enter the username admin and enter the password located on the device information label/engraving. |  |
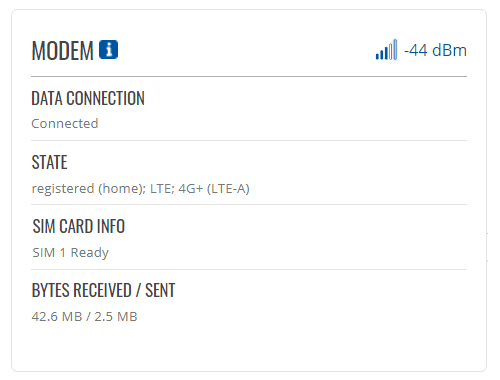
6. After logging in, you must set a new password for security reasons. You will not be able to interact with the router’s WebUI until the default password is changed. The new password must consist of a minimum of 8 characters. Requirements: one uppercase letter, one lowercase letter, and one digit. 7. Next, the Configuration Wizard will start to help you set up some of the router's main operational parameters. Make sure to set Auto APN to off and enter teal in the APN field. 8. Finally, let's verify the Mobile signal strength. Go to the Status — Network page and pay attention to the Signal Strength indication. 5 years of RMS service is included with every router. |  |
| 9. Disconnect the power cord from the router. 10. Confirm that the connections from the antenna to the router are secure as they may have loosened during shipping and set up. 11. Follow the Rachio controller instructions for mounting the enclosure. 12. Connect the AC power adapter cord (with red and black wires) to the router. You should insert the AC power adapter plug in the same place from which you previously removed the power cord. 13. Mount the Rachio controller according to the Rachio Instructions to the enclosure, ensuring the red and black wires are accessible. 14. Connect the AC power adapter’s red and black wires to the 24VAC + (positive) and - (negative) terminals on your Rachio controller. This will provide power to the router. As the wires are not polarized, the order does not matter. 15. Connect your mobile device to the router’s WiFi network. If you were previously connected, double check to ensure you are still connected. 16. Using your mobile device and the Rachio app, connect your Rachio controller via WiFi to the router’s WiFi network. 17. Once the controller is connected, navigate to your mobile device’s WiFi settings, find your router’s network, and forget the network to prevent your mobile device from automatically connecting to it in the future. **If your phone stays connected, this may increase your data usage, increasing your bill.** Additional Resources: |


